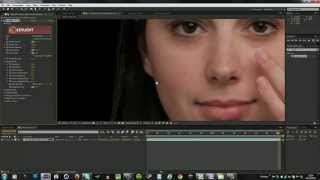
After Effects: Advanced Green Screen Tutorial
In this video tutorial, VideoFort Don demonstrates how to use advanced keying techniques that can be applied to green screen clips. The finished product uses a background made in After Effects, but any background can be applied to the composition.
In this video tutorial, VideoFort Don demonstrates how to use advanced keying techniques that can be applied to green screen clips. The finished product uses a background made in After Effects, but any background can be applied to the composition.
He starts by dragging the video clip into a new composition and applies the effect Keylight 1.2. After the effect has been applied, he turns up the screen gain to get rid of any noise found in the video clip. He then lowers the screen balance to obtain some detail back on the edges of the actor. Under screen matte settings, VideoFort Don clips the black and white values to get rid of any green found on the subject. After doing this, he then duplicates the composition and creates a luma matte to help get rid of any left over noise. Next, add the background that you’ve chosen by dragging it underneath the two clips in your composition. Using Hue and Saturation gets rid of any leftover green seen in the video clip. To give the effect that the actor is under a light, a Wrap Light is applied by duplicating the screen matte twice into its own composition. Next, invert the first layer and set the second layer to a luma matte. Add a fast blur to the first layer to create the white edge. This composition will help the light shine around the actors edges, blending it to give it a more natural look.
