Cinema 4D: Grow Effect Tutorial
In this tutorial, VideoFort Don demonstrate how to create a growing effect using Cinema 4D. The objects that he uses in this tutorial are all created in Cinema 4D.
In this tutorial, VideoFort Don demonstrate how to create a growing effect using Cinema 4D. The objects that he uses in this tutorial are all created in Cinema 4D.
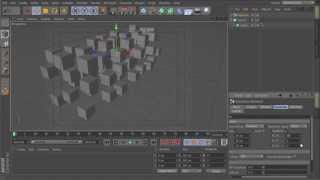
He starts of by adding a cube object to the composition. Next, select “Cloner” to clone the cube under MoGraph. Change the Mode of the Cloner to “Grid Array” and turn down the size of the cubes. Make the Cloner larger by pulling the cubes away from each other. Elongate the cubes on the x-axis and increase the count of the cubes. Under MoGraph select Effector and select “Random” to randomize the squares. To add more randomness, change the rotation under the parameter settings. Next, enable the “Gouraud Shading” in the display settings. This will help you see your shapes better. Be sure to remove the “Grid” under the filter settings. Next, insert a “Plain” by going to Effector under MoGraph. Switch the position off under the parameter settings. Select “Uniform Scale” and set the value to “-.99” to create microscopic cubes. Drag the plain layer into the Effector under the “Random” layer. Insert a second “Plain” by going to Effector under MoGraph. Switch the position off under the parameter settings. Select “Uniform Scale” and set the value to “100” to bring the cubes back to their original size.
Now that you have our cubes ready, you can start to add the effect. Under the falloff settings in the second plain’s settings, set the shape from “Infinite” to “Box”. Increase the scale of the box to make it longer. This box will display the cubes growing from their microscopic form to their original form as it moves past the 3D objects. In order to do this, you just add a simple animation to the position of the box.